


User manual for your Twice chair
Congratulations, you have chosen a relaxing chair from the Twice range. Once you have read this manual we wish you relaxation and comfort and pleasure from your chair. So read through this manual carefully before using your chair.
1. The first time you use the chair
1.1 Positioning
a. The chair must be placed on a at oor. Take into account the oor when positioning your chair.
With oors susceptible to scratching, it is advisable to place small felt mats under the chair’s feet to prevent damage. We accept no liability for damage to ooring caused by the chair.
Never pick your chair up by the arms. When moving the chair, pick it up by the bottom of the arms or the side panels.
b. Your chair is supplied with a battery as standard. You must charge this up after unpacking the chair. The battery is not fully charged when it leaves the factory. You can read how to charge the battery in 3.3.
c. If your electrically adjustable chair is equipped with a transformer, connect it directly to the chair, then put the plug in the socket.
d. To prevent your chair from being discoloured or deformed, avoid placing it in direct sunlight or near an open replace or wood burner.
1.2 Safety
When operating your chair, make sure that children or pets cannot get trapped between moving parts. Do not let children operate the chair or play with it!
2. Operating the chair
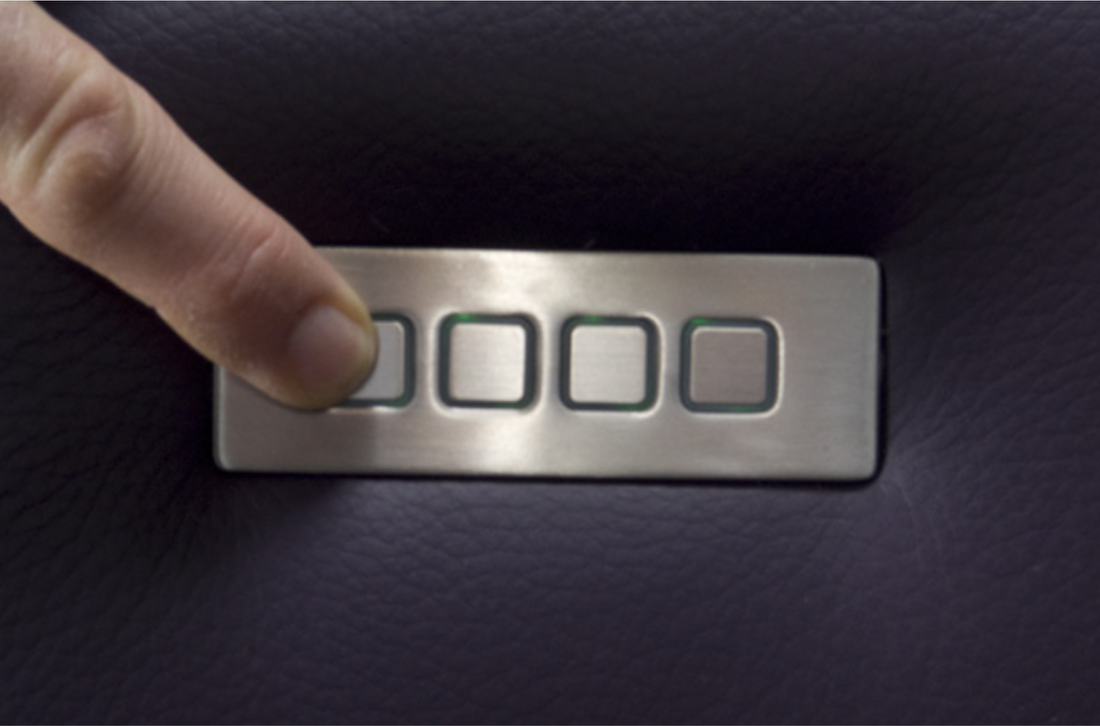
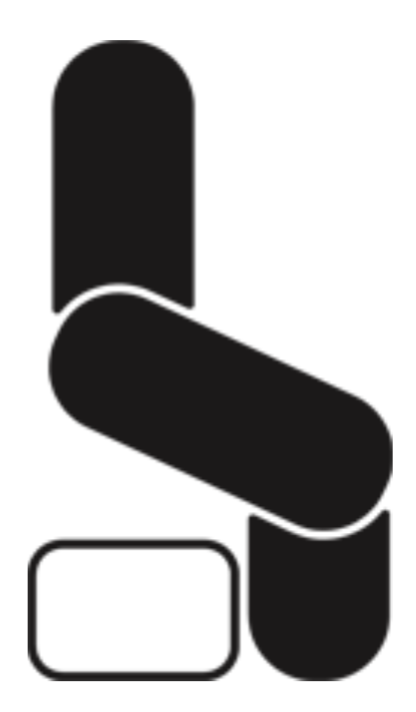
2.1.1 Control panel (Fig. 1).
All Twice chairs are tted as standard with a control panel in the right arm (from the sitter’s viewpoint). Depending on the model, it may be that the controls are incorporated into the seat. With the front two buttons you control the footrest and the “heart balance” position and with the back two buttons you control the backrest. Pressing the front button makes the footrest come out, then it switches to the “heart balance” function. To return to the neutral position, press the second button. To move the backrest, press the last button to move it back and with the third button move the backrest forward again. While you are operating the chair, little indicator lights behind the buttons shine green.
2.1.2 Control panel (Fig. 1). For Twice chairs with a riser function
If you have chosen a Twice chair with a riser function, this is equipped with the same control panel. To operate the riser function, from the neutral position press the second button to move the chair “up”. Keep the button pressed in until the chair is fully raised and then just stand up out of the chair. If you have sat back down in the chair and you want to return to the neutral position, press the rst button so that the chair goes back down. Keep the button pressed in until the chair is fully “down”. If you now wish to operate the footrest,
just release the rst button and then press it again. The footrest will then come out and then switch to the “heart balance” position. To return to the neutral position, press the second button. If you want to go straight on to the raised position you only have to release the button and then press it again. To adjust the backrest, press the last button to move it back and with the third button you can move the backrest forward again. While you are operating the chair, little indicator lights behind the buttons shine green.
SAFETY
Have you selected a chair with a riser function? The chair is equipped with a brake that holds the chair in a xed position when you want to use the riser function. If you want to get out of the chair or if you want to sit down in the chair while the chair is in riser mode, you can only do so when the chair is fully up. At that point, the chair is fully braked and it can no longer rotate. If the chair is not up, it is still possible for the chair to rotate, so you cannot sit down. We are not liable for damage or injury resulting from incorrect use of the riser function.
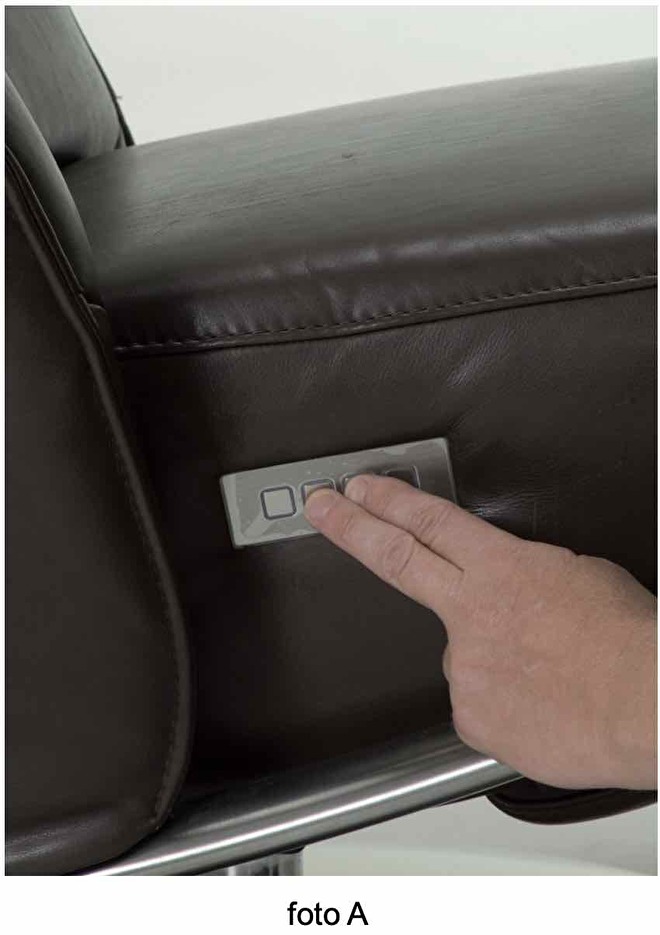
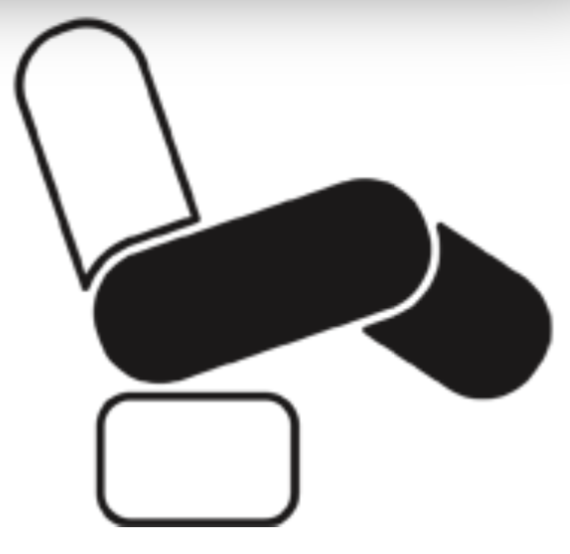
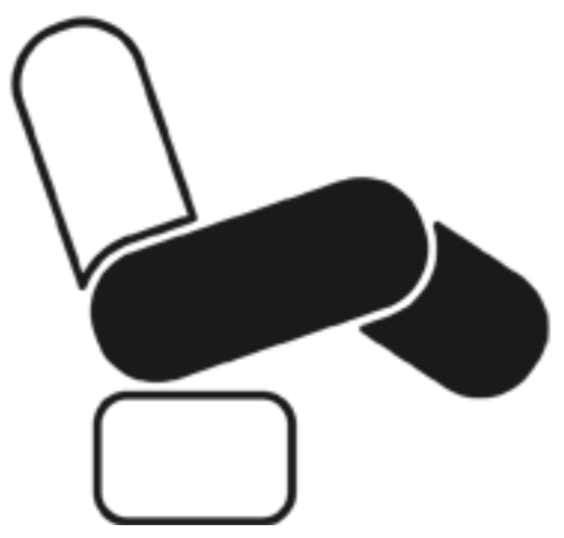
2.2 How to tilt the seat with a TWICE chair
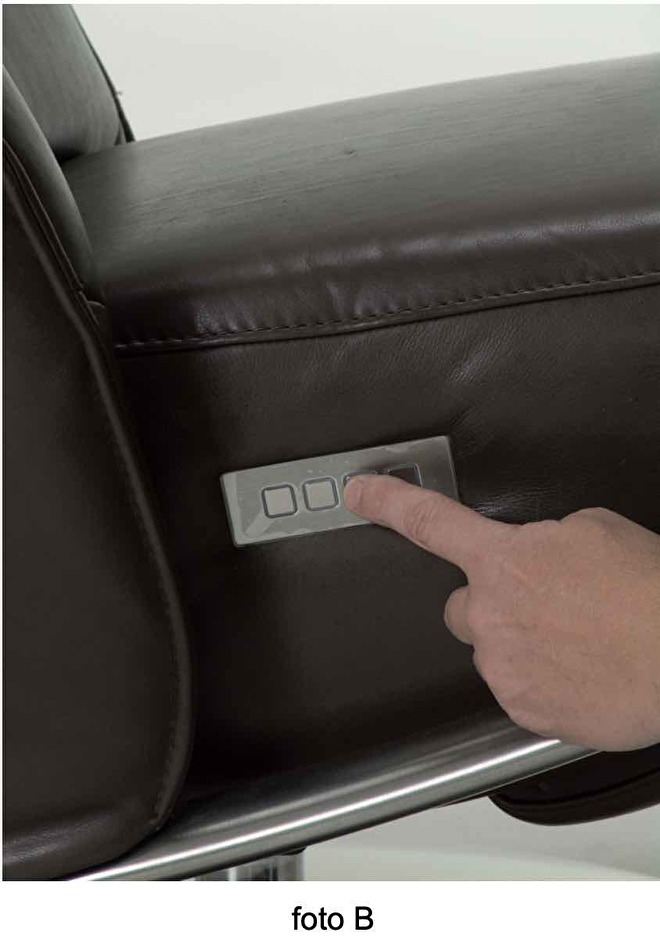
In the latest version of our TWICE models, it is possible to tilt the seat without folding out the footflap. You can do this by pressing both of the middle buttons on the remote control (see picture A). To go back to the “normal” position, you press the second button of the remote control (see picture B).

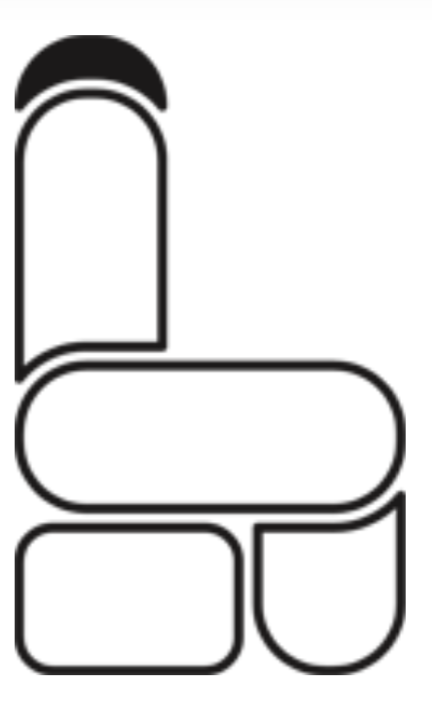
2.3 Top pivot (Figs. 2 and 3)Your chair is also equipped with a top pivot. You can pull this adjustable head support towards you by putting both hands behind your head when sitting in the chair. The pivot angle is continuous. If you no longer want to use the top pivot, you can simply push it back with both hands. You may also have selected an electric top pivot. You operate this with the control panel. If you press the two front buttons at the same time with two ngers, the top pivot will come towards you. If you press the two back buttons at the same time with two ngers, the top pivot will move back away from you. When you use the top pivot, the cover on the back of the chair stretches somewhat. This is normal and cannot be prevented. You need to operate the top pivot regularly to keep it supple.


2.4 Manual operation via the coiled cord
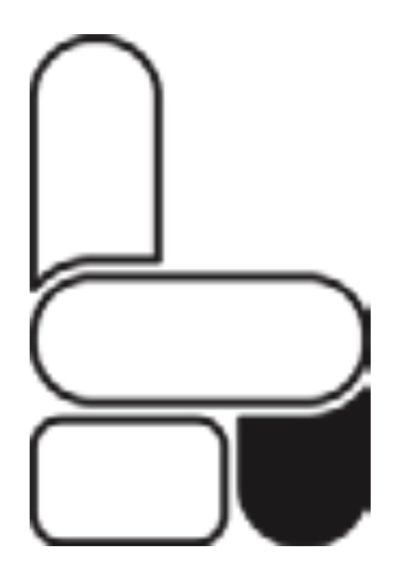
Instead of a control panel in the arm or in the side panel, you can choose control unit on a spiral cord. Depending on the options you have chosen for your chair, you will see the following icons:
Standaard options

With this button you move the backrest from the reclining (lying) position to the upright position

With this button you move the backrest from the upright position to the reclining (lying) position.
With this button you move the footrest to the folded position (under the chair). If your chair is equipped with a riser function, you use this button to move the chair from the raised position back to the neutral position.

With this button you move the footrest to the fully extended position. If you keep this button pressed when the footrest is fully extended, the chair moves to the “heart balance” position. Here the seat and the footrest tip back together even further. You will feel a slight vibration with the switch from fully extended footrest to “heart balance” position.
Options at extra cost
With this button you move the chair from the relaxing position to the neutral position. If you keep this button pressed (or if the chair is already in the neutral position) this moves the chair to the raised position.
With this button you move the chair from the raised position to the neutral position. If you keep this button pressed (or if the chair is already in the neutral position) this button moves the chair to the relaxing position.

With this button you move the chair from the relaxing position to the relaxing neutral position. If you keep this button pressed (or if the chair is already in the neutral posi- tion) this button moves the chair to the raised position (if the chair is equipped with the riser function).
With this button you move the chair from the raised position to the neutral position. If you keep this button pressed (or if the chair is already in the neutral position) this button moves the chair to the relaxing position.
With this button you move the electric top pivot backwards.

With this button you move the electric top pivot forwards.
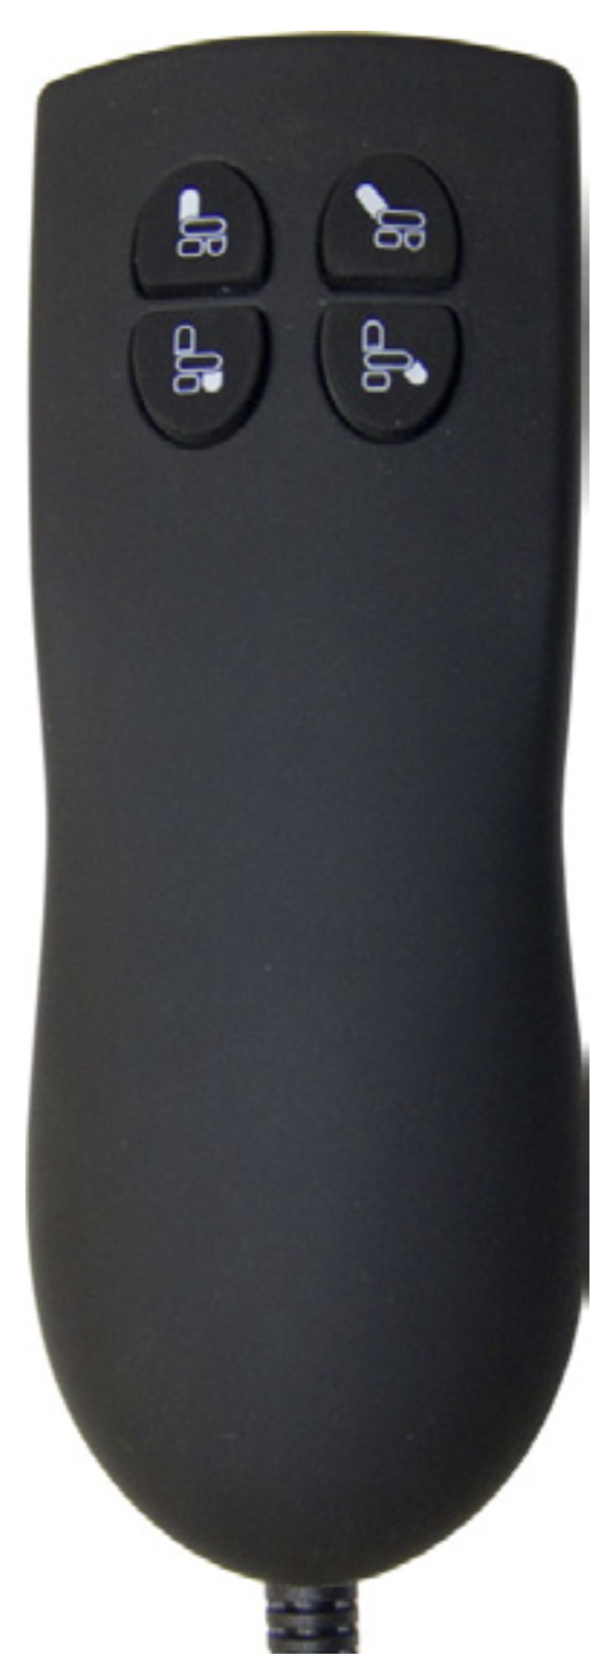
This remote control is supplied with models without either the riser function or electric top pivot.
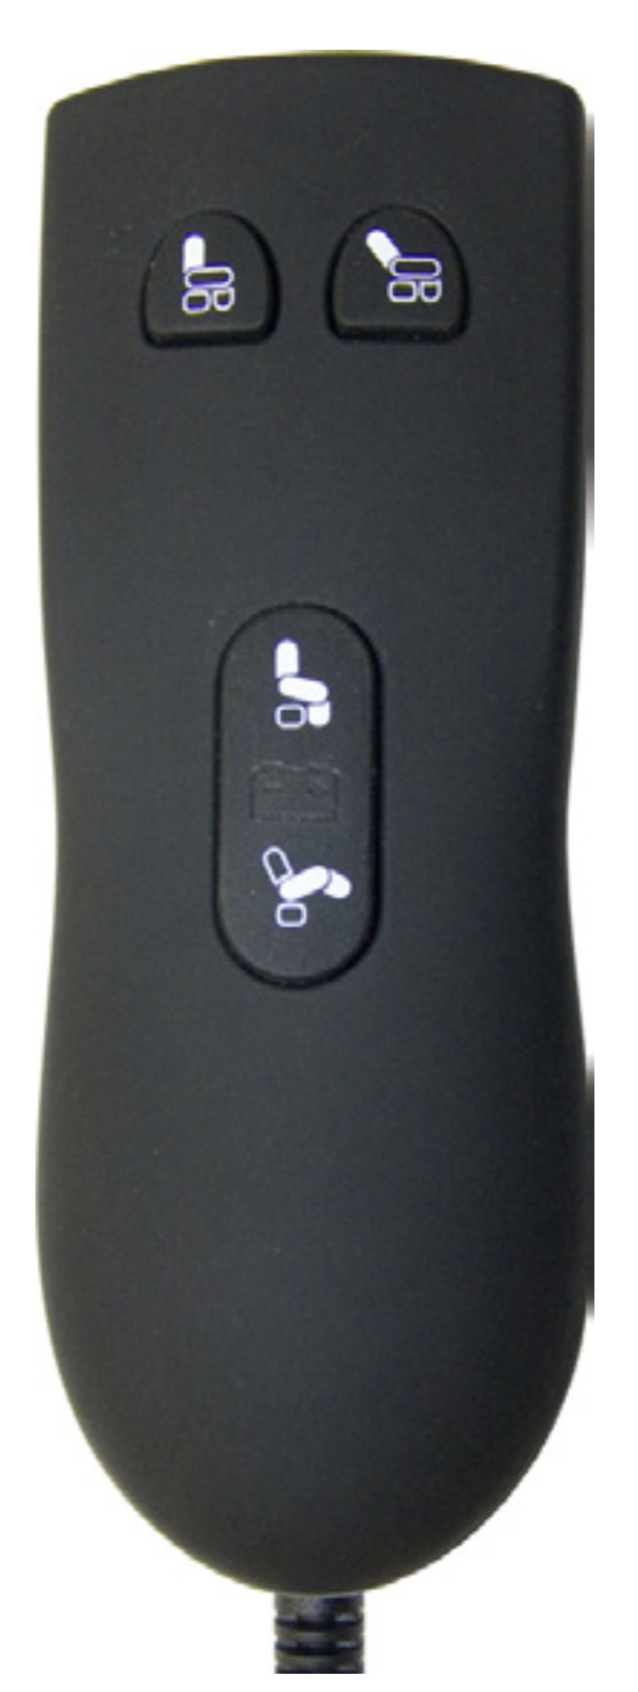
This remote control is supplied with models with/without the riser function and with electric top pivot.
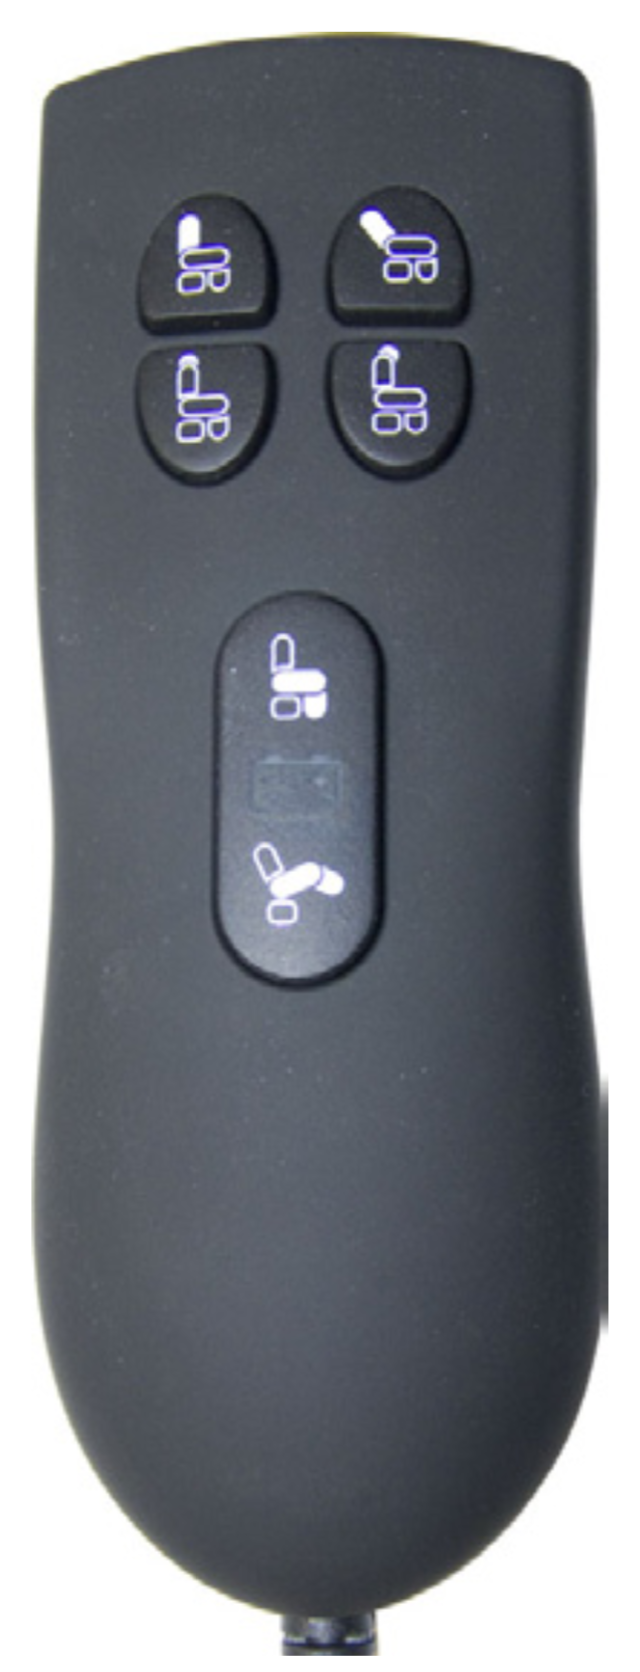
This remote control is supplied with models with/without the riser function and with electric top pivot.
3. Battery (standard for dual motor recliners, optional for riser recliners)
3.1 Eerste keer opladen voor eerste gebruik
Charging up the first time for first use
Charge up the battery for at least 8 hours so as to achieve full charge for use.
To maximise the life of the battery, it is important to disconnect the charger from the charging socket after charging.
3.1.1 Never leave the charger constantly connected to the battery.
3.2 Use of the battery
The battery charge level is reduced by use. The period of use is dependent on many factors such as the weight of the user, the ambient temperature and the intensity of use.The battery makes a beeping sound when it requires charging.
3.3 Recharging the battery
a. Always first connect the battery to the adapter/charger. Then simply put the plug of the adapter/charger into the socket.(Illus. 6)
b. Charging time is dependent on the residual level of charge in the battery but it is between 6 and 8 hours.
c. The reclining armchair may be used as normal during the charging process.
d. After the charging process, first take the plug of the adapter/charger out of the socket and then simply disconnect the adapter/charger from the battery.
Fig. 6


3.4 General instructions for use
a. Important: When charging a cold battery (5 degrees or below) in a warm room, let the battery come up to room temperature for at least 1 hour.
b. The battery must not be charged at temperatures below 0 degrees or above 40 degrees.
c. Only for use in dry and ventilated rooms.
d. Use only the original battery, cables and adapter/charger.
e. You are advised not to use an extension cable.
f. The battery and adapter/charger must never be used with a damaged cable or plug.
g. The battery must be used with the necessary care, so do not let it fall, suffer impacts or be subjected to
heavy vibration.
h. If the battery or adapter/charger is damaged, it must no longer be used. Contact your chair supplier to
arrange for the replacement of the damaged parts.
i. Do not expose the battery to an open fire or dismantle or open it.
j. Do not immerse the battery in water.
k. Keep out of the reach of children.
3.5. Environmental care
The battery must not be disposed of with your normal domestic refuse at the end of its service life, instead it must be handed in at a collection point indicated by the local authority. In this way you will be making a contribution towards a cleaner living environment.
Important: Even in the event of non-use or insufficient use, the battery must be fully recharged at least once every 3 months.
Battery and charger warranty: 1 year
4. Upholstery
4.1 Leather
If you have chosen a leather model, here are a few tips to help you enjoy your recliner for as long as
possible.
a. Leather is a natural product, and minor irregularities such as marks from insect bites, folding and
small variations in colour are seen as signs of quality.
b. Leather can fade as a result of extended exposure to strong light.
c. Leather can lose its colour due to exposure to extreme temperatures, moisture, solvents or acids (including
acids in the skin and in medicines we use).
d. Sweat and scalp oils (natural human secretions) may be absorbed by the pores in leather (and other fabrics)
and become integrated with the leather. This process will manifest itself most obviously in contact areas such as the headrest and armrests. Amino acids in sweat and oil secretions can sometimes cause stains or discoloration of the leather. These vary from one person to the next, and may not occur at all.
e. You can maintain your leather chair in top condition by dusting it off regularly and cleaning it weekly with plain water and a cloth with no soap residues. The chair should be cleaned min. twice a year with the proper Keralux® cleaner, followed by the application of the proper Keralux® lotion. Your retailer can provide further advice about this.
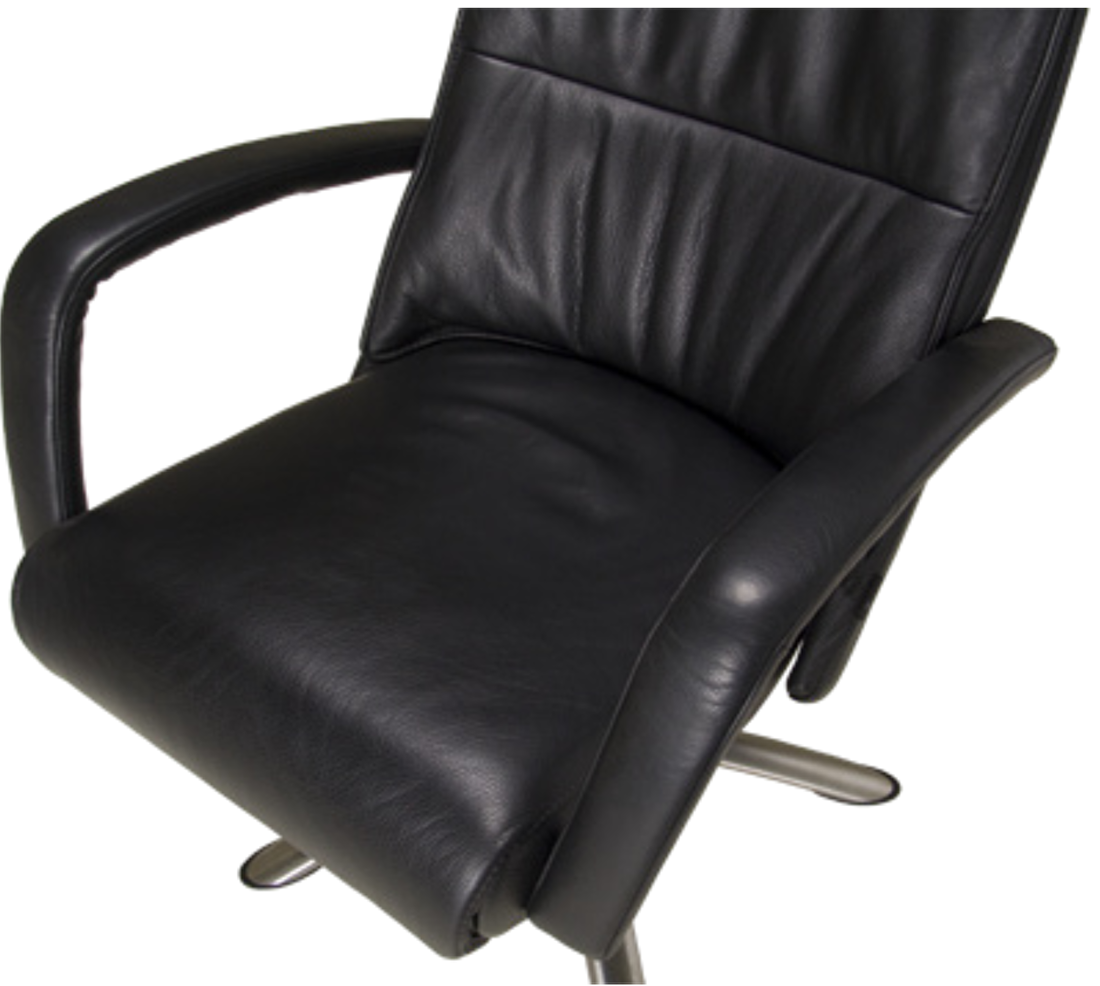
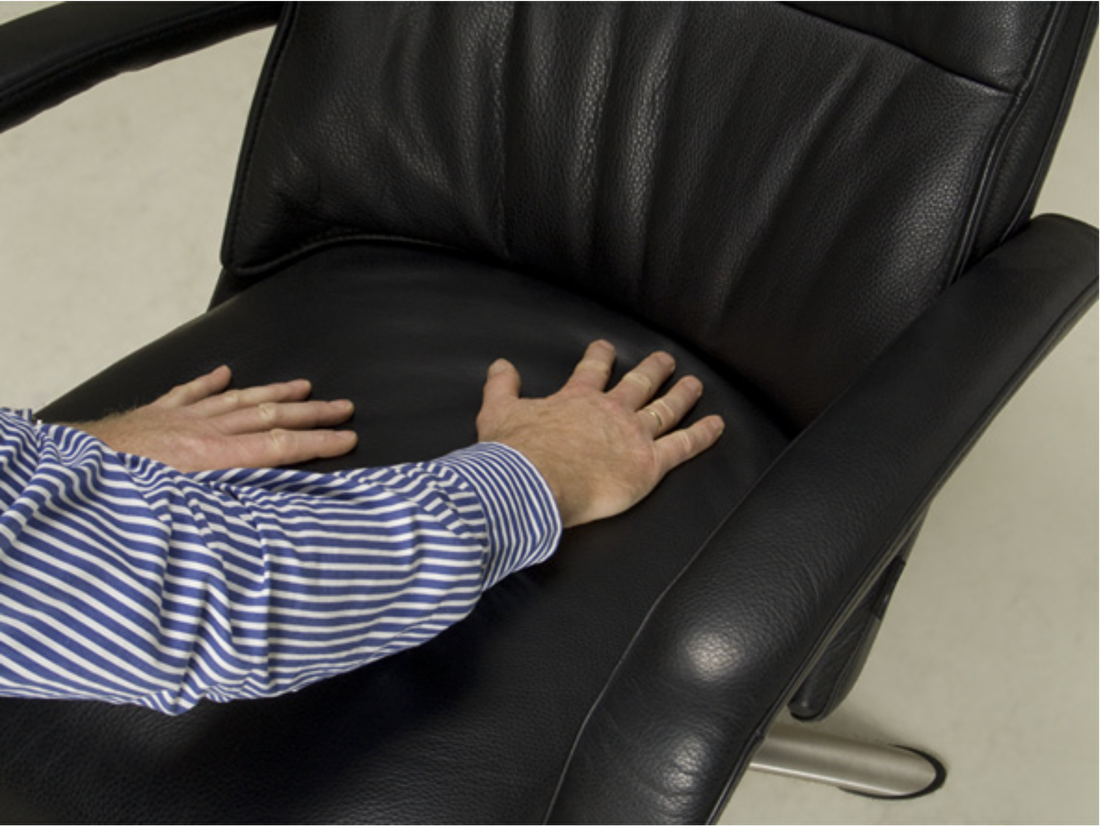
f. When the chair is used it will show signs of the sitting position. Leather stretches under load, partly due to the elasticity of the foam below. The resulting "puddling effect" is a perfectly normal phenomenon. You can reduce puddling by smoothing the seat with your hands each day. (illus.7). Signs of use will also be visible on the chair back. Leather is a fantastic material which grows in beauty as it is used!
Illus. 7
Fig. 5
4.2 Fabric
a. The chair should be vacuumed weekly using the upholstery brush attachment. Small particles of grit have an abrasive effect, accelerating wear. You can use the Puratex® care set for maintenance.
b. Almost any fabric will fade to some extent under the influence of sunlight. Cotton fabrics are more sensitive to this than wool. Lighter colours generally fade less than darker shades. If possible it is best to avoid exposing furniture to direct sunlight.
c. Different fabrics will behave differently on the same model of chair, mostly due to variations in elasticity. The more elastic the fabric the more visible the folding will be, particularly around the seams.
4.3 Foam
Your chair will adjust to your body shape. On a hard surface, your body must adjust to the chair. But comfort chairs are the opposite. Foam adjusts to circumstances slowly, depending on aspects such as duration of daily use, temperature and body weight. The adjustment period depends on usage and can take up to six months. After this usage period, optimal comfort levels are achieved.
Polyurethane Foam
Polyurethane foam is the primary material that determines comfort. This product is often called “cold foam”. It is non-toxic, produced without CFKs, and is recyclable. A characteristic of cold foam is that it is fairly rigid at first, but becomes more flexible with use. Stiffness reduces by about 15%, after which the material stabilizes.
4.4 General Information
a. Every piece of furniture we produce is made with the greatest care. Chairmaking is a labour-intensive process, every chair is made by hand and so no two chairs are completely identical. Minor variations in appearance are inevitable and underline the fact that these are craftsman products.
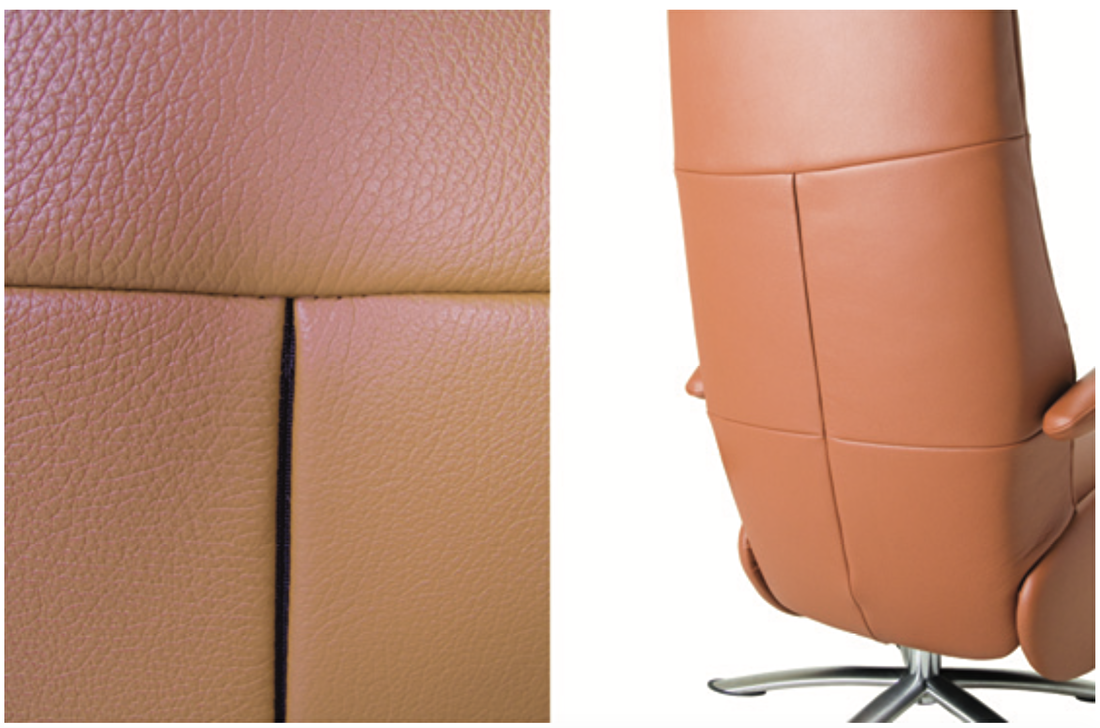
b. Most recliners are fitted with a zipper in the back. This zipper is required for upholstering purposes. We use so-called invisible zippers. However, in some cases, the black zipper might be visible. (Illus. 8) Because of tensions to the seat cover, the zipper might be visible. This could also be the result of pressure on leather when somebody sits down in the recliner. The zipper is particularly visible at the point where several pieces of leather meet. Unfortunately, this is unavoidable.
c. Because a recliner consists of many moving parts, it is almost impossible to adjust the system soundlessly. These noises and “creaks” might be audible when the position of the recliner is changed, as well as when it is in neutral position. If the recliner has not been placed on a flat surface, this may also cause creaking.
d. Distribute your weight evenly along seat and backrest. You might tend to lean more to the right or left in your recliner. Please be aware that your recliner will shift along with you. You might cause the cover of your recliner to shift to the right or left (i.e. crooked) along the back of the chair. A recliner shapes to its user.
e. Do not use armrests as a ladder, stool, or seat.
f. Do not stand on the seat. This will cause overburdening of the springs.
g. Do not kneel on the seat to look over the back.
For further information you should consult your retailer, or visit our website at: www.sittingvision.com
